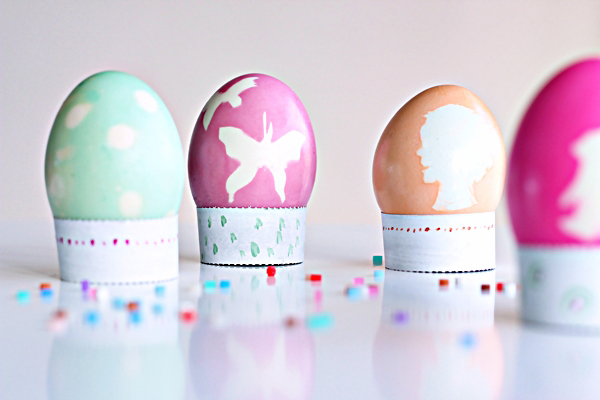
Easter is just around the corner and this pretty project will inject some colour into your decor. In this tutorial you’ll learn how to dye brightly-coloured eggs and embellish them with sweet silhouettes. You can download our free silhouette pattern to make the project super-easy. Read on for the full instructions after the jump.
Supplies
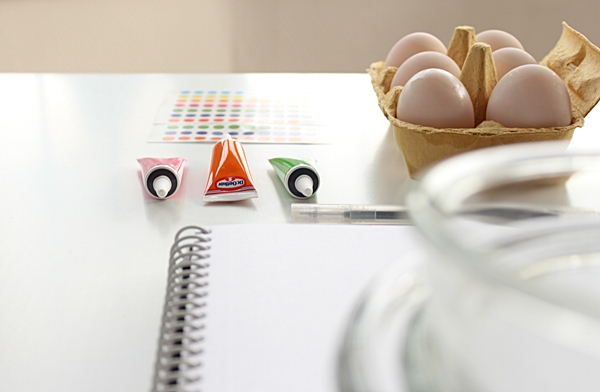
White eggs.
Egg dying tablets or food coloring and white vinegar.
Cups or bowls.
Soup spoon.
Silhouettes template.
Marker.
Contact paper.
X-acto knife or Stanley Knife.
Cutting board.
Oil.
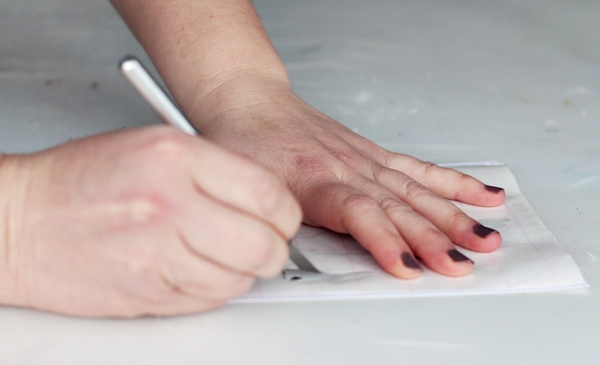
Step 1: Create Your Designs
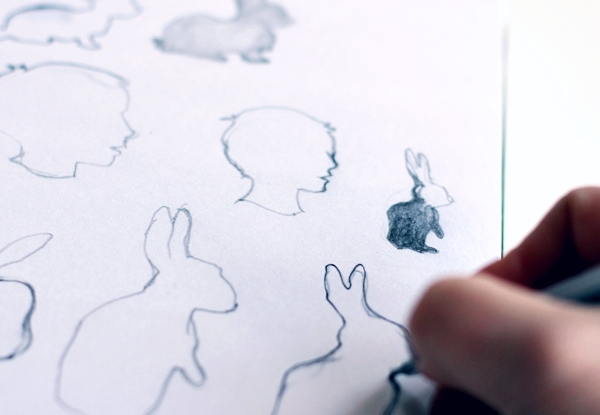
Draw your design with a pencil so you can correct any mistakes. When you’re happy with your design, go over it with a marker. Then fill in the outline so you get a better idea of how it will look on your egg. Keep in mind the size of an egg and try to keep your silhouettes simple and small enough to fit on it.
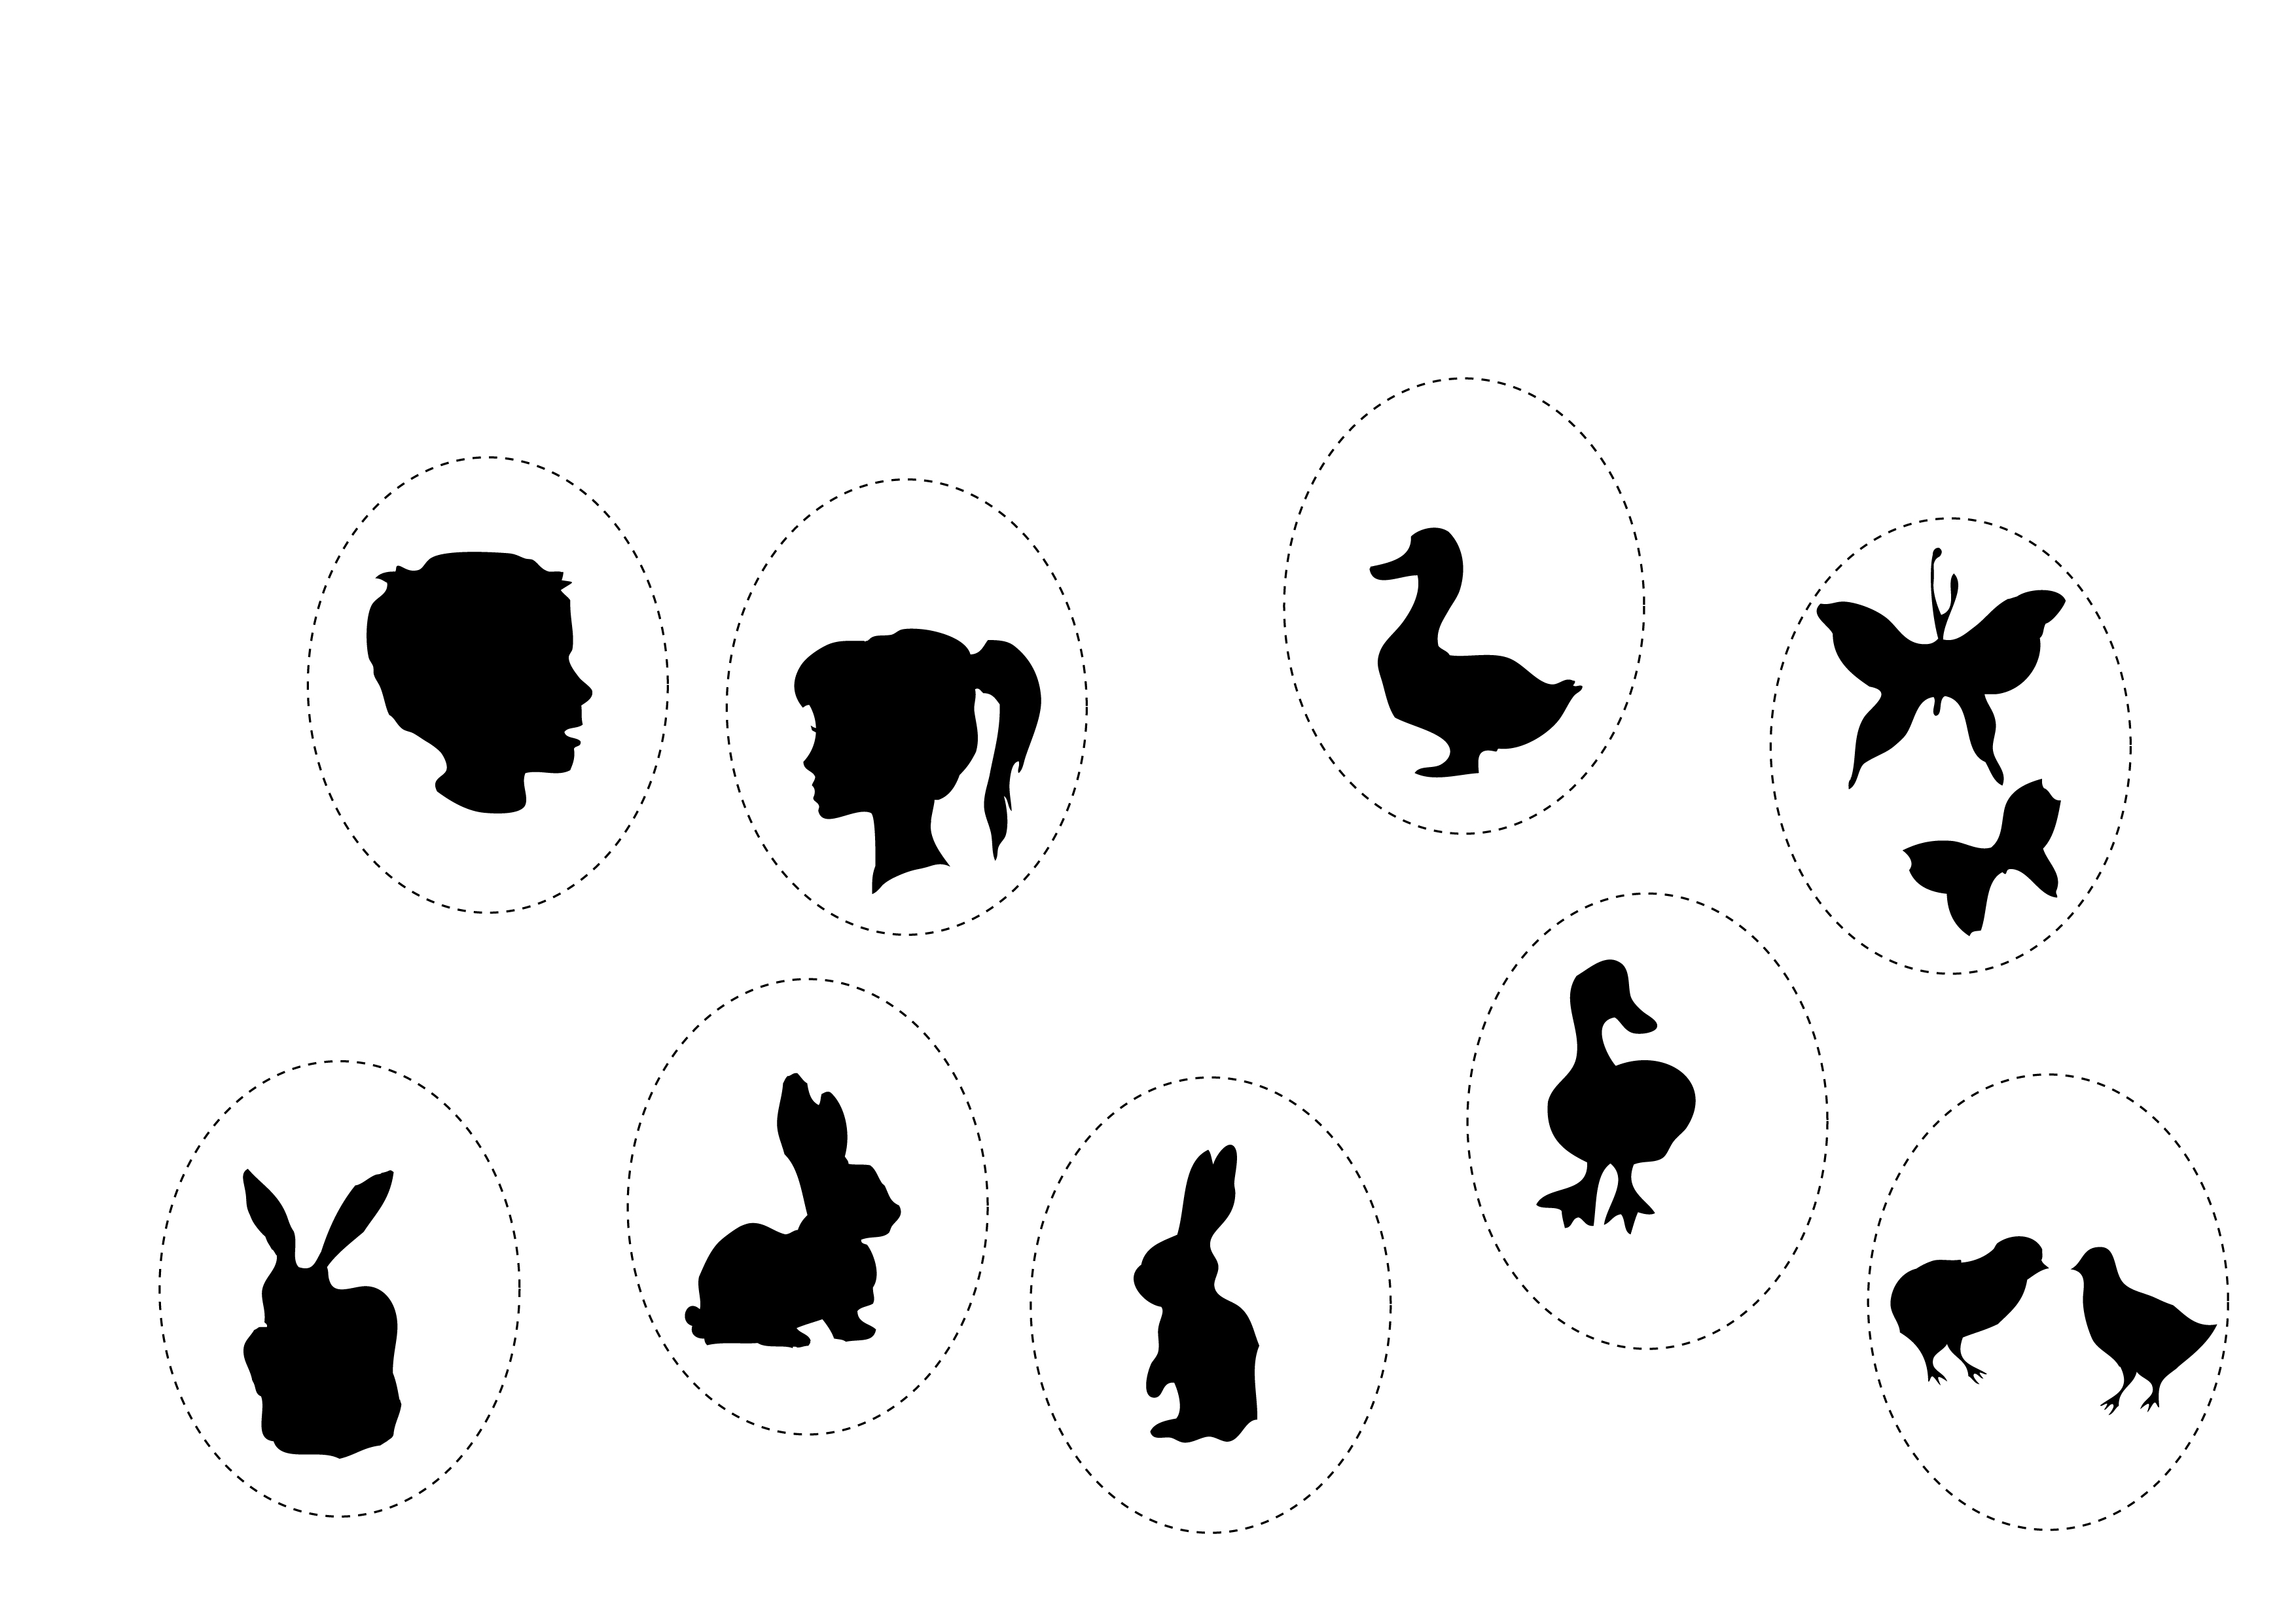
If you don’t want to create your own designs, you can print out our free downloadable designs above. Once your designs are ready or printed, trace them on the contact paper.
Step 2: Cut Out the Silhouettes
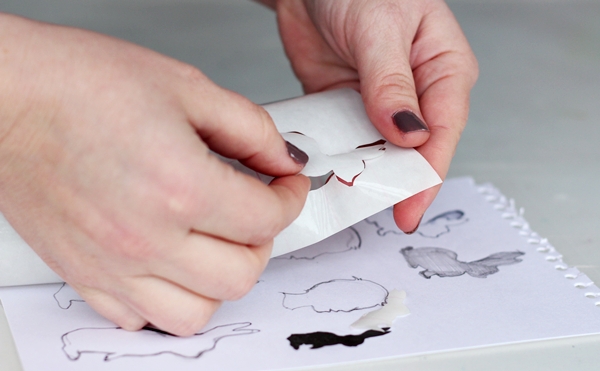
Using the X-acto knife, cut around your outlines on the contact paper, paying attention to the details. You can also use a normal cutter or a pair of scissors but an X-acto knife offers more precision. Create as many silhouette stickers as you need, depending on the quantity of eggs you want to decorate.
Step 3: Boil the Eggs & Stick the Silhouettes on the Eggs
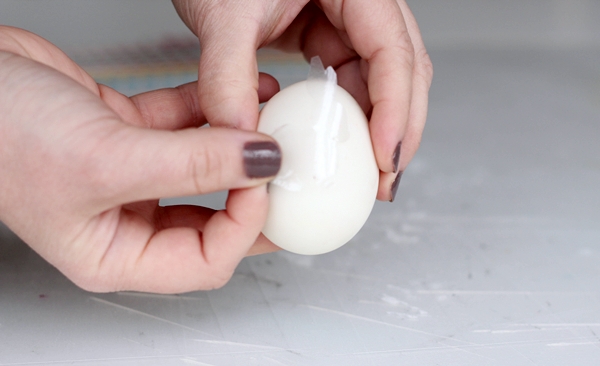
Hard boil your white eggs. Remove them from the pot and dry.
For this step it helps to have warm eggs. If you try sticking contact paper on a cold wet egg it won’t stay for long. So gently peel off the back side of the contact paper and attach the silhouettes on the eggs. You can place one figure at the front and one at the back.
For sharp silhouette designs, rub the edges of your stickers using your fingers. Make sure there aren’t any bubbles or spaces for the dye to penetrate your silhouette.
Step 4: Colour Your Eggs
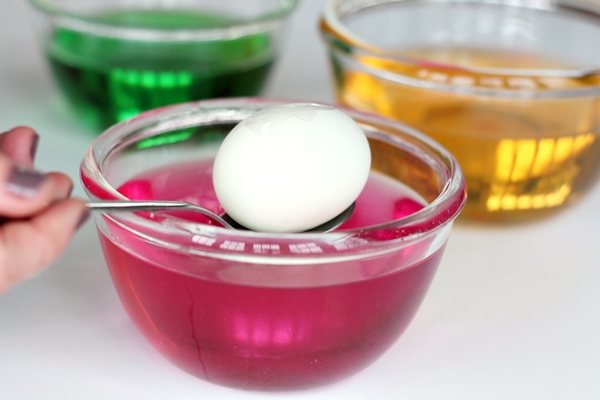
Using a spoon, carefully dip hard-boiled eggs with the sticker silhouettes in the dye. Make sure they are fully covered with colour.v
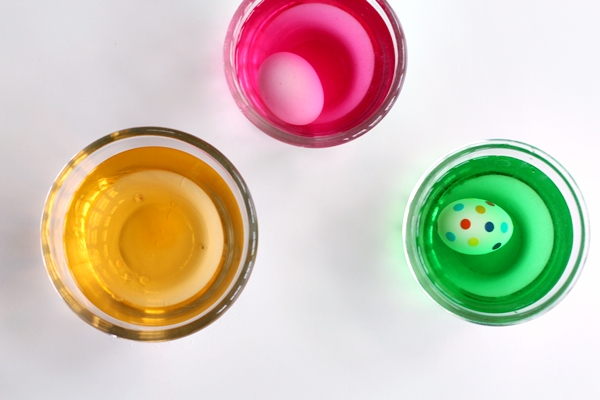
Leave them in the dye for three to five minutes. If you’re after a bright strong colour, leave the eggs in a little longer.
Step 5: Pat and Let Dry
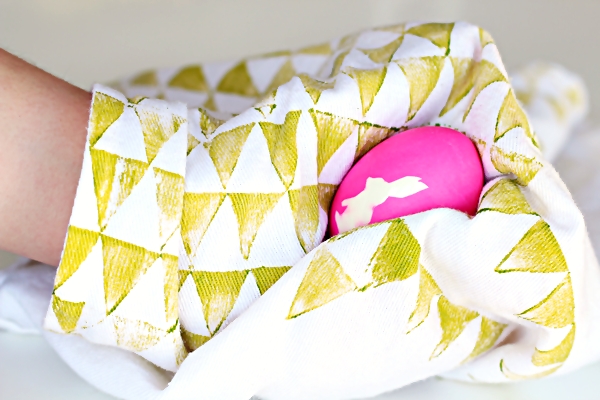
Carefully remove the eggs from the dye using a spoon. Now gently pat them dry with a towel to prevent drops destroying the even colour.

Place them carefully on a stand and let them dry completely.
Step 6: Remove the Stickers
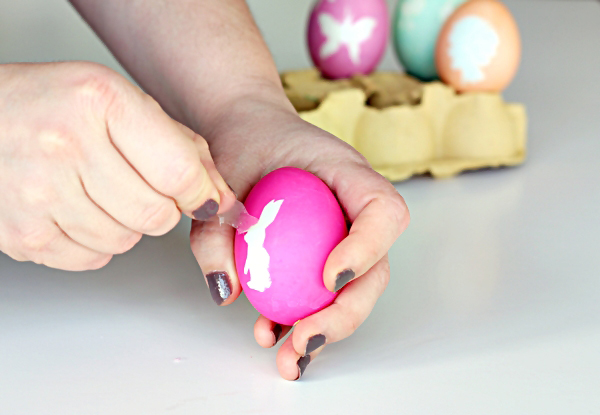
Carefully peel off the stickers from your eggs.
For a shiny effect, rub the eggs with a very light coating of vegetable oil . This will enhance the colour and make them glow. If you plan to eat the Easter eggs, it is wise to not leave them unrefrigerated for more than two hours.
D[egg]orate!
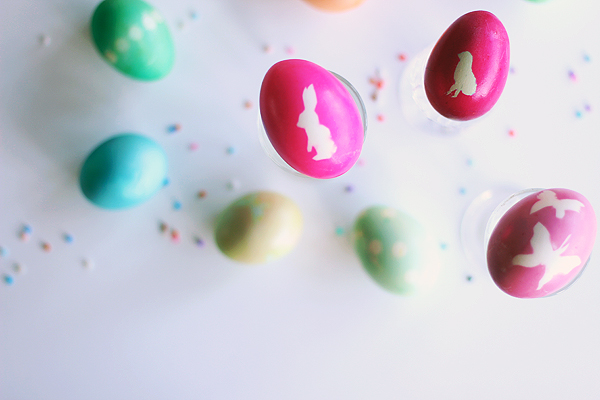
Now your gorgeous silhouette eggs are ready to decorate your Easter table. They’re almost too pretty to break and eat, aren’t they?
Have you tried making silhouette eggs before? Do you have any suggestions, tips or tricks you’d like to share with us?
For even more detailed instructions click here