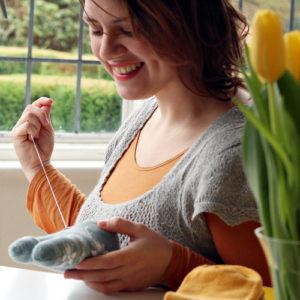
Hobby horses are fascinating toys for kids and they are simple and fun to make. I wrote this tutorial a few years ago for tutsplus, but I just found out from the museum of cycladic art that this toy used to be played even in the ancient times. So get a stick and a sock and you are ready for joyful rides with your stick horse. Or you can give it to your kids to play! Oh, did I tell you that no sewing machine is needed for this project? You will only need stuff you already have in the house and kids can help make it.
Supplies
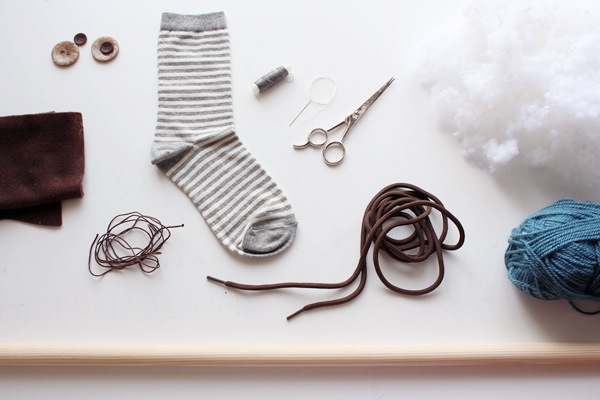
- Wooden broomstick or long, thin rolling pin
- Hand saw (not pictured here)
- Men’s size striped sock
- Two big beige (or white) buttons for the eyes
- Two small brown (or black) buttons for the eyes
- Soft washable hypoallergenic stuffing material for plush toys or cushions or cotton
- Woollen yarn for the mane (the thicker, the better)
- Thick cord for the rein (1 m / 40 in)
- Thin brown rope
- A small piece of brown felt for the ears
- Thread in the color of your sock
- Needle
- Scissors
- Sticky tape
- A book (not pictured here)
1. Tie the Sock to the Stick
Step 1
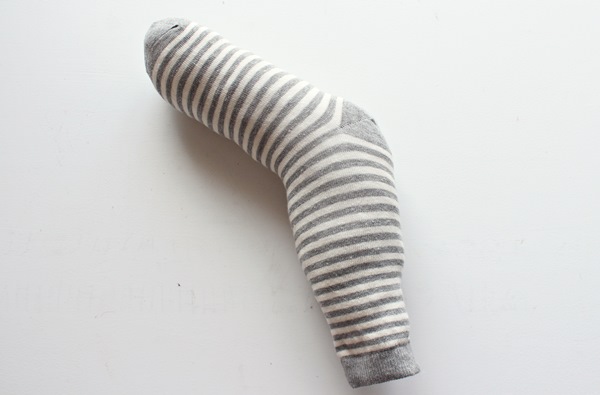
Take some soft stuffing material – ( or cotton, or paper) and fill in the sock.
Step 2
As a stick I used a long, thin rolling pin, which can be easily sourced locally here and is really cheap too. Plus it had the ideal length for my nephews and needed no cutting. But if you can’t find one, an old wooden broomstick will do just fine.
Tip: You can use a hand saw to create a horizontal ridge about 30 cm / 12 in from the trimmed top. The ridge will be used later on for securing the thread while tying the head to the stick. This is not obligatory, but it will certainly make your hobby horse much stronger and better able to resist playtime.
Now, insert the stick in the sock until its top reaches the heel. The ridge on the stick should be close to the opening of the sock.
Step 3
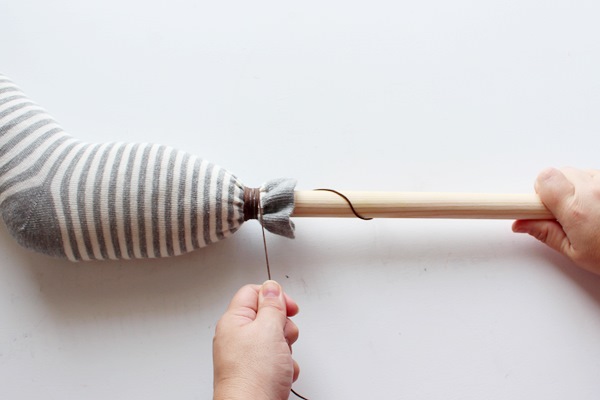
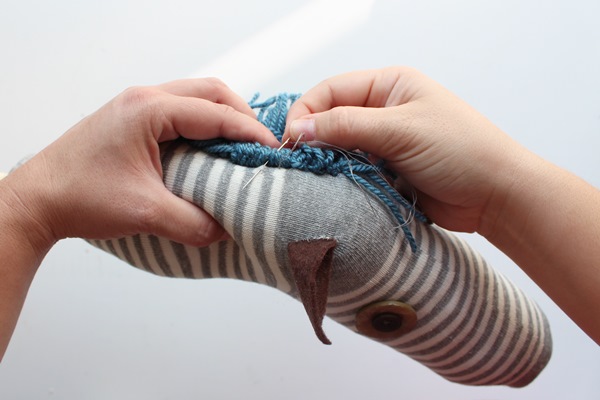
Using a needle and thread, first secure the thread in the ridge by tying it around the stick a few times. Then pass through the sock and wrap the thread around both the sock and the stick and tie it securely.
Then get the thicker brown cord. Secure it with a double knot, leaving one long and one short edge. Then wrap the long edge tightly around the sock and the stick, making sure you wrap the shorter edge of your cord too.
At the end, secure the cord in place by tying the two edges of the cord together. Trim off the excess ends.
2. Create the Horse’s Head
Step 1
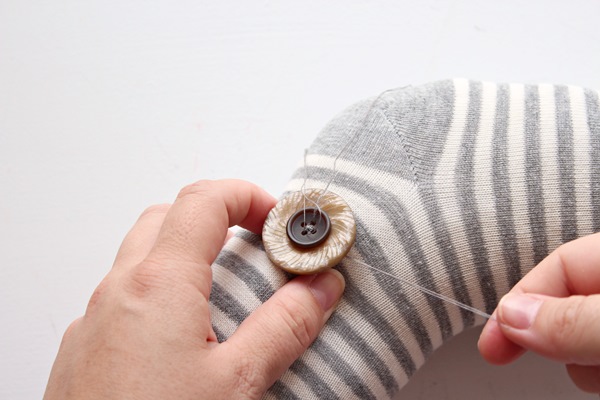
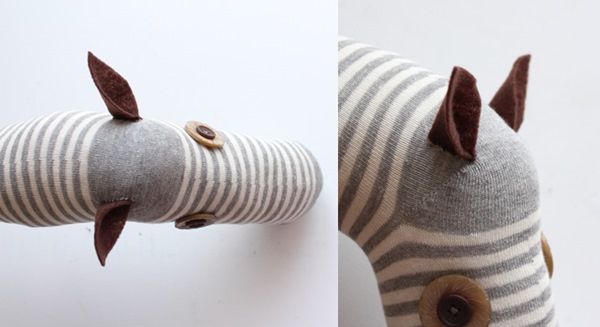
Let’s give the horse a face! Once the base of the horse is ready, you can give your horse eyes. To form the eye, take one small brown button and place it on top of a big white one. The position of the eyes is between the heel and the toes, closer to the heel. Stitch both buttons tightly there.
Step 2
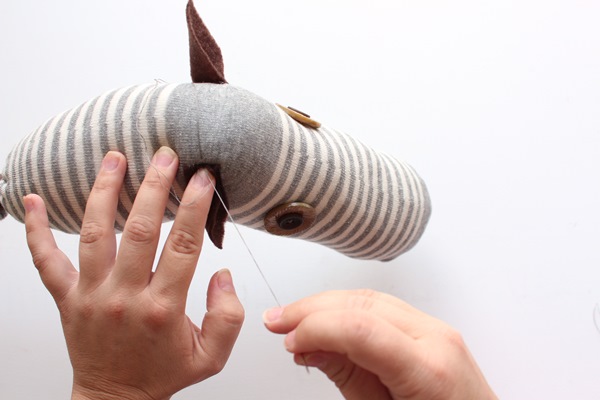
To create the ears, cut two pieces of brown felt in the shape pictured below. You could also add a second brighter layer of felt on top of this.
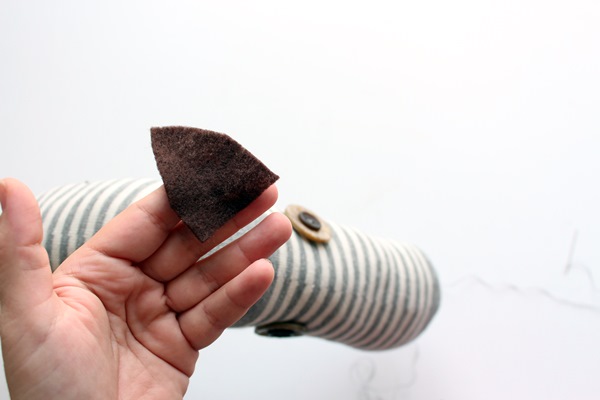
Fold the base of the ear in half.
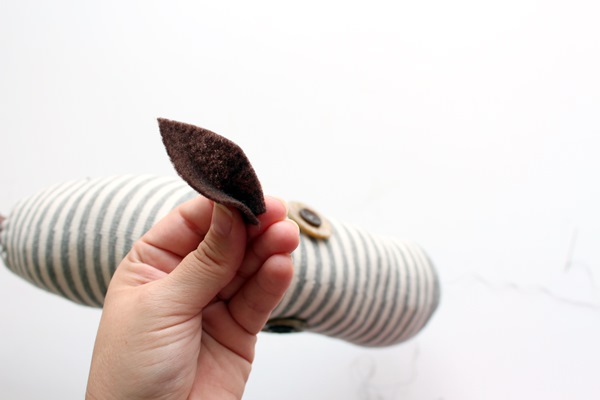
Position it on the left side of your horse’s head—the heel of the sock—and sew it securely in place. Attach the second ear on the other side of the head.
ta-dah!
Step 3
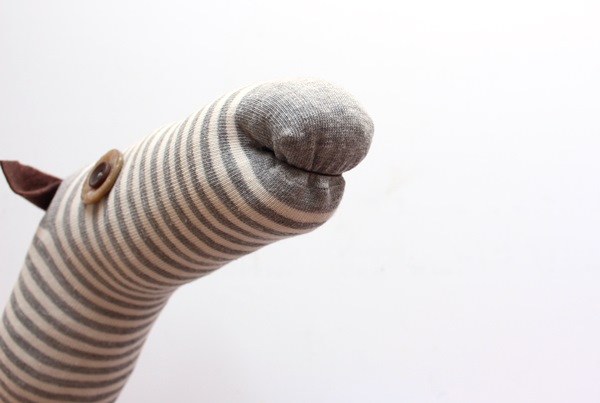
Now, let’s make the mouth. Thread your needle and make a big knot. Pass the needle in the right side of the nose and pull it through the left side.
Step 4
It is time to make some hair for your horse. Get a book; preferably one with a hard cover. Start wrapping the woollen yarn around the book.Now pick a new piece of yarn and tie it to the first strip of the wrapped yarn. Pass one end of the yarn underneath and one over the wrapped yarn and tie them at the bottom. Repeat the same process on the back side of the book.
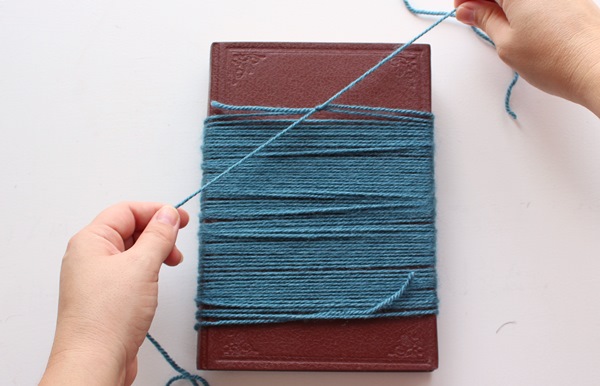
Carefully cut the yarn on both sides of the book. It is better to keep the book horizontal on your working surface during this process, so that the yarn stays in place after cutting.
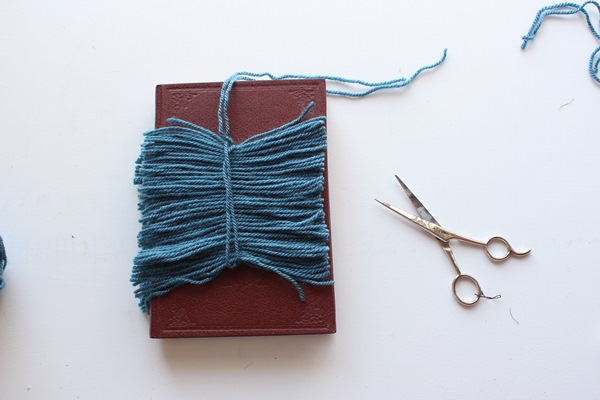
Double knot each yarn piece in the central vertical yarn. I found it easier to place the knotted ones up to keep track of my progress and avoid mistakes.
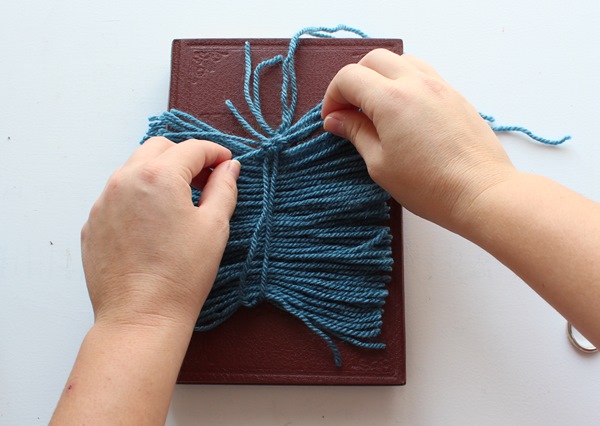
Knot, knot, knot. And eventually you’re done! Remove the book carefully, as you have a second pile of yarn under the book that you may use if making a second horse.
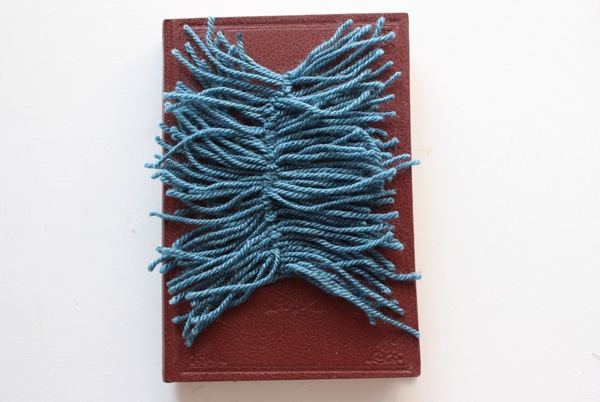
Position the mane on the horse and keep it in place with a few stitches. Cute, eh?
Step 5
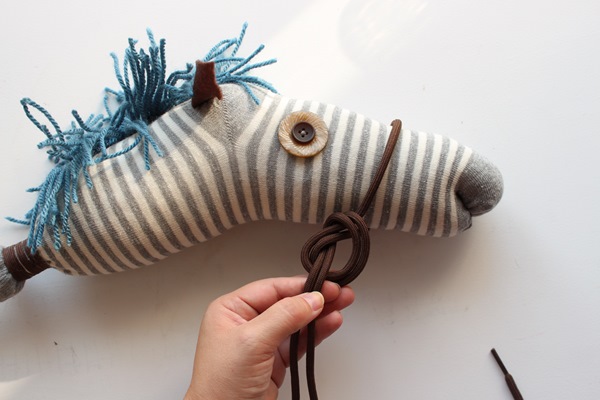
All that’s left to do now is add a rein. Fold your cord in half and pass it through the horse’s snout. Make a knot underneath. Secure the knot in place with a few stitches. Keep the open ends of the cord together by taping them.
Ride On!
I showed you here how to make a fun hobby horse toy for your kids. First, you learned how to create the base using a wooden stick, a sock and some stuffing. Then you learned step by step how to make and attach on your horse the eyes, the ears, the mouth, the mane and the rein.
I showed you the extended version but of course you can make adjustments based on your time-energy and skip some steps or add glue instead of stitching. I do not reccomend this, but I totally get it if you are slightly bored of stitching. Or why not, you could make the main out of felt instead of yarn.
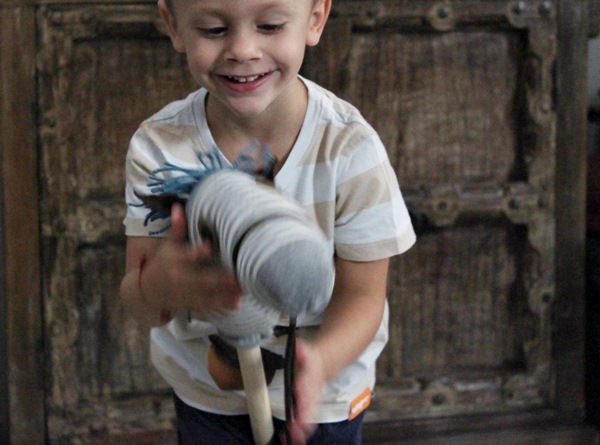
Now make a trail to follow and let your child ride. Or you can even make a few more horses for your kid’s friends and organise a horse race. Can’t wait to see what you are making!
Find full tutorial here!